安装前准备
安装mimic数据库前,我们需要先准备以下工具:
1,postgres数据库安装包;
2,7z安装包;
3,mimiciv数据安装脚本;
4,mimiciv数据集;
为了方便同学们学习,小编已经把上述需要的软件已经整理好了,关注“科研收录”公众号,后台回复"mimic安装"就可以获取下载地址。
安装Postgres数据库
mimic官方推荐使用postgres数据库进行数据分析。
01
安装postgres
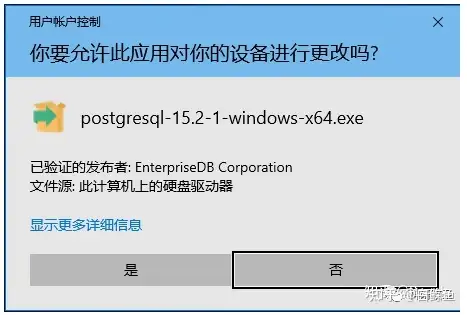
双击打开安装postgres安装包,然后选择“是”
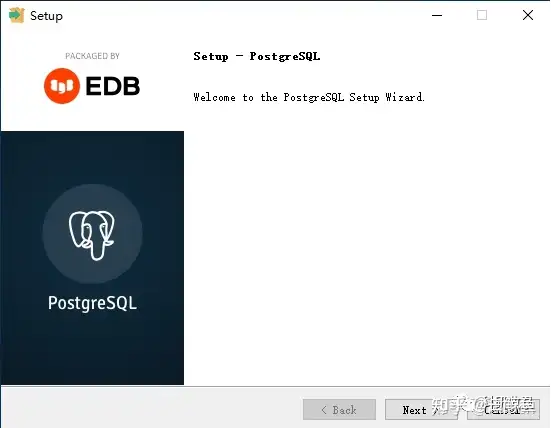
点击"Next >"
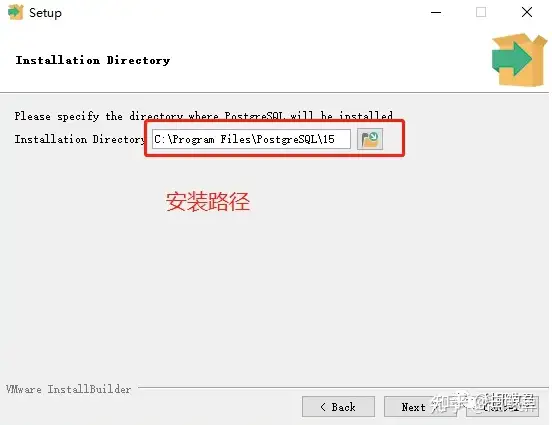
选择安装路径后点击"Next >"
点击"Next >"。(pgAdmin4是客户端软件,如果同学们已经安装了navicat,则不需要安装pgAdmin4)

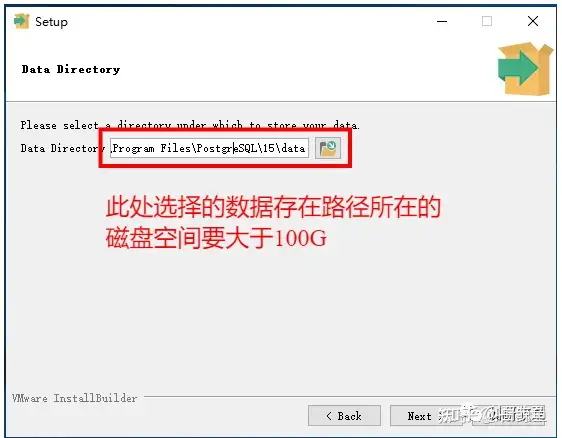
选择数据库数据文件存放路径后点击"Next >"(这里一定要选择一个可用容量大于100G的磁盘,因为mimiciv数据将近100G)
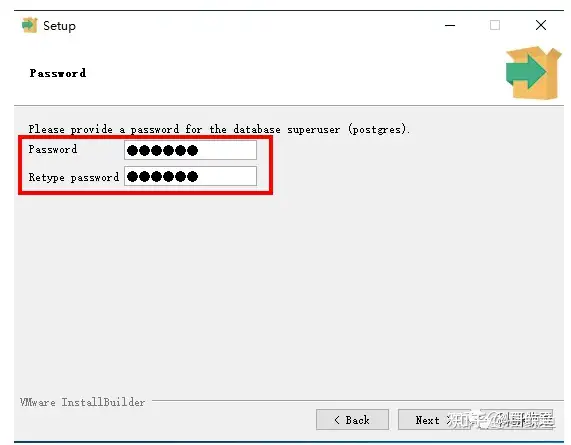
输入数据库管理员密码后点击"Next >"(这里输入的密码是管理员密码,拥有最高权限,一定要记住)
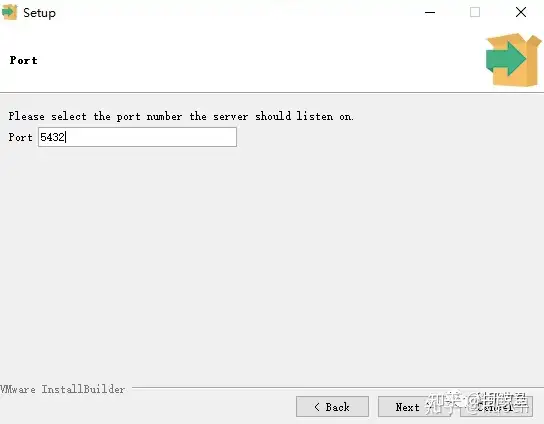
端口号选择默认的5432后点击"Next >"(这个默认端口号不要改)
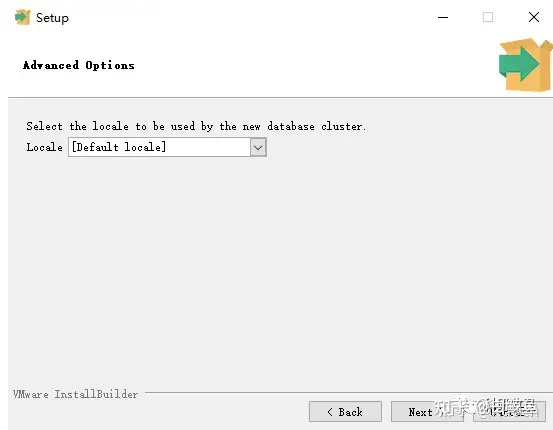
这里不要动,点击"Next >"
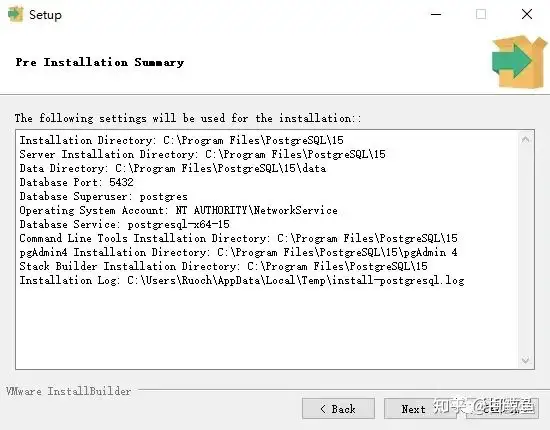
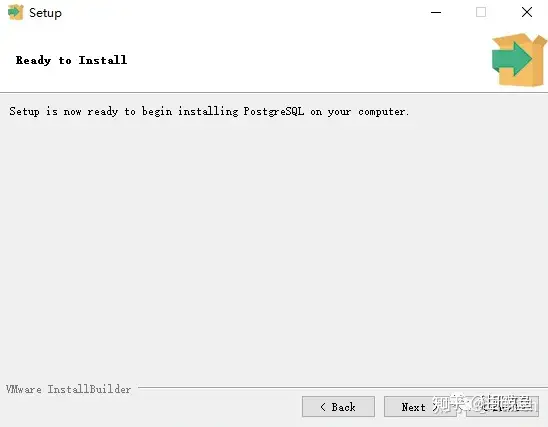
以下是确认配置页, 确认点击"Next >",觉得不对的话可以点击"<Back"
点击"Next >"
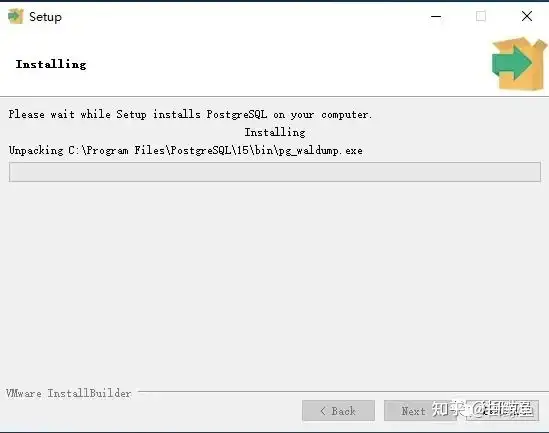
等待安装(大概几分钟)
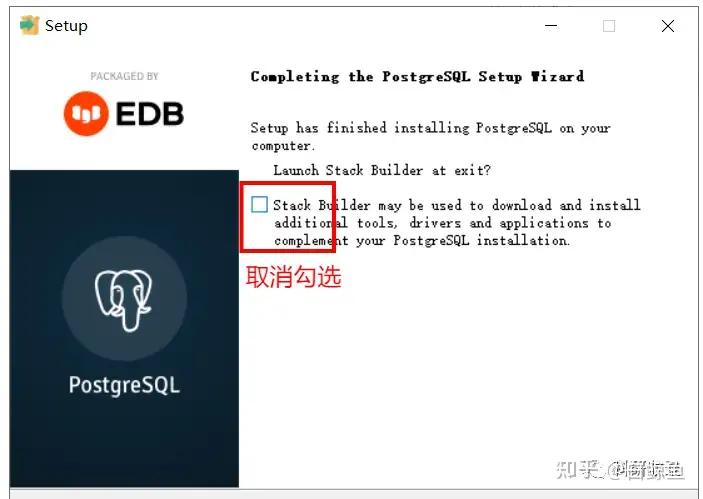
安装完成后,取消勾选“Stack Builder”,点击"finish"就完成了安装。
02
测试postgres
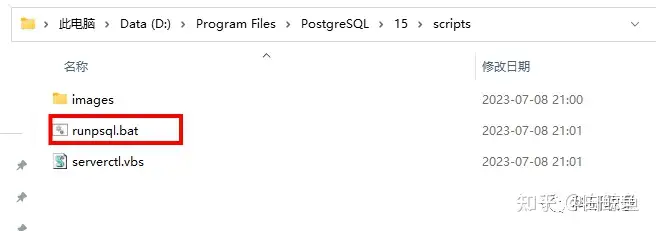
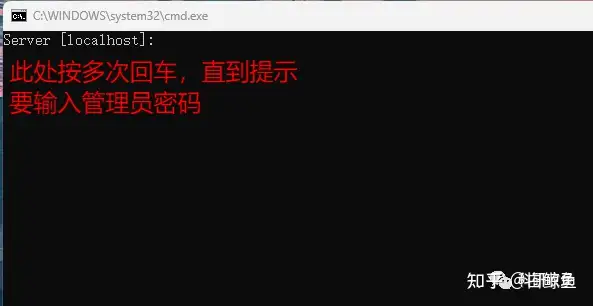
在刚才postgres安装目录下找到scripts文件夹下的runpsql.bat文件,双击该文件,就会打开postgres默认的客户端。
一直按回车,直到提示你输入管理员密码
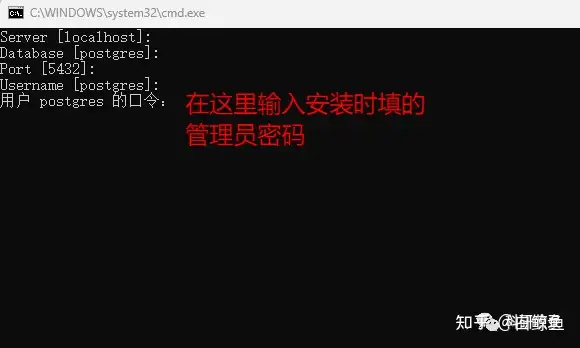
在这里输入安装时输入的管理员密码
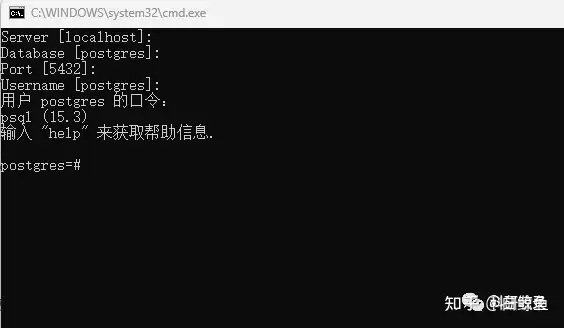
输入密码按回车后,如果看到"postgres=#",表示已经安装成功。
安装7z解压缩软件
因为mimiciv数据非常大,压缩包就有8G,导入完数据后将近100G,不能直接将数据导入数据库,需要使用到7z解压缩工具进行数据解压导入。
01
安装7z
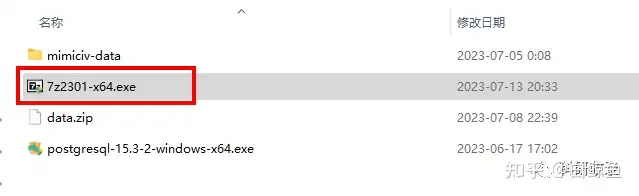
双击7z安装文件
选择7z安装目录(记住这个目录,后面设置环境变量要用)
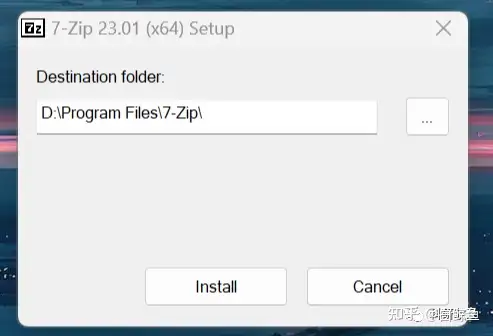
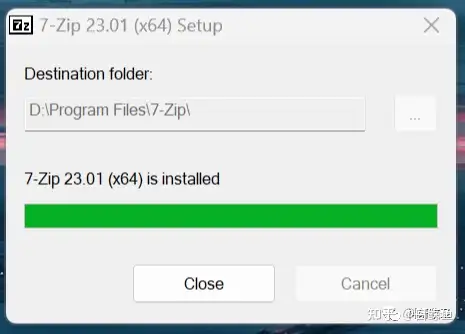
点击"Install",很快就安装完毕
02
设置环境变量
安装完7z之后,还需要设置7z的环境变量,才可以使用7z进行mimic的数据导入。
不同版本的操作系统设置环境变量的方式有细微差别,小编使用的是windows11操作系统,这里就以windows11操作系统说明如何设置7z的环境变量。
鼠标右键“我的电脑”,选择“属性”,在左边的搜索框输入“查看高级系统设置”按回车
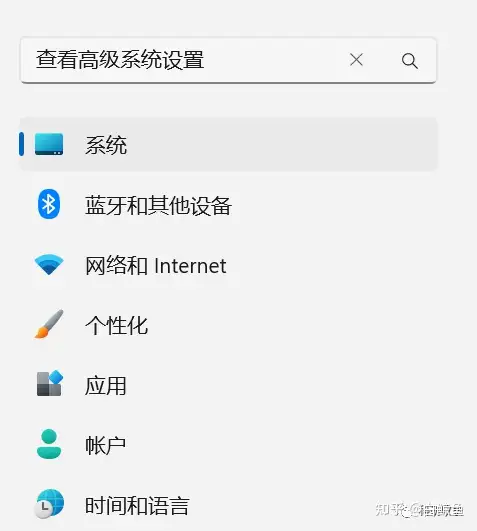
点击“查看高级系统设置“

点击“环境变量”
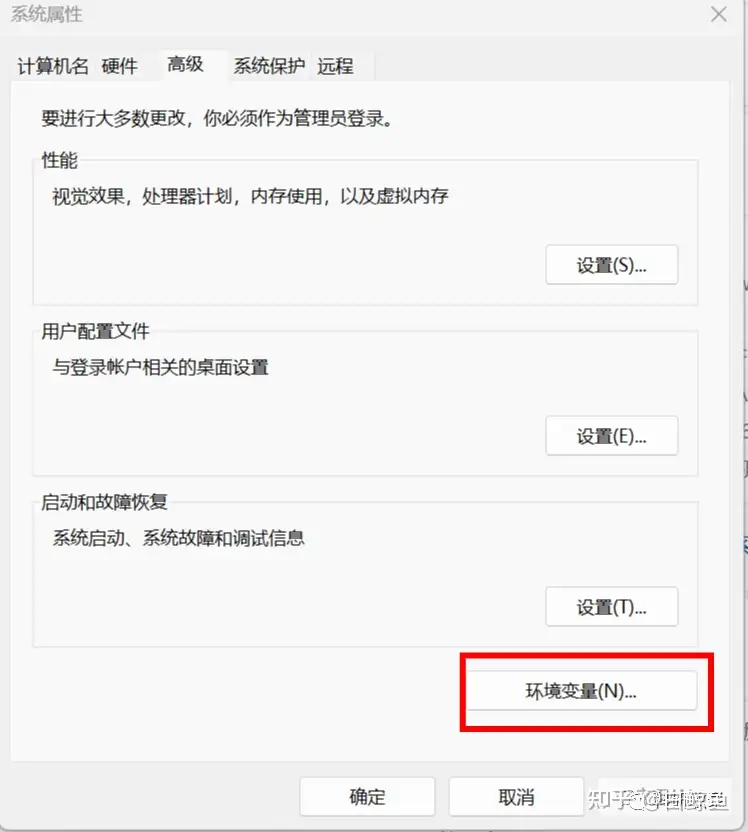
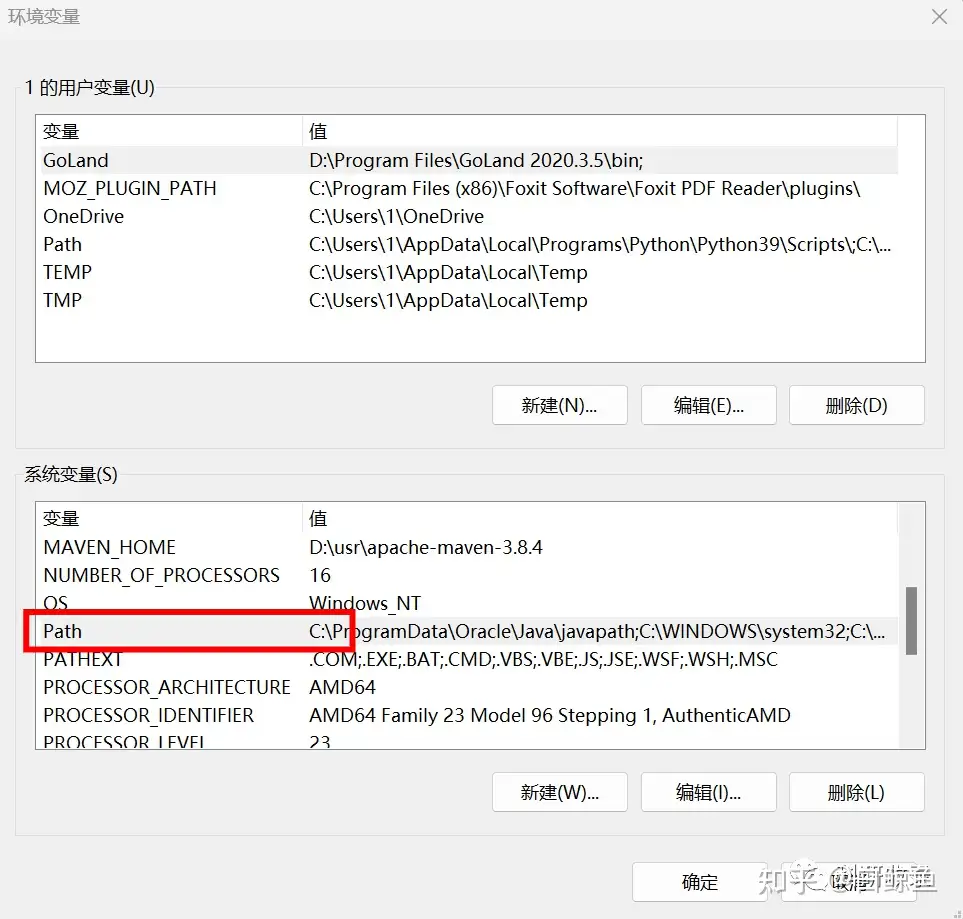
双击系统变量下的"Path"变量
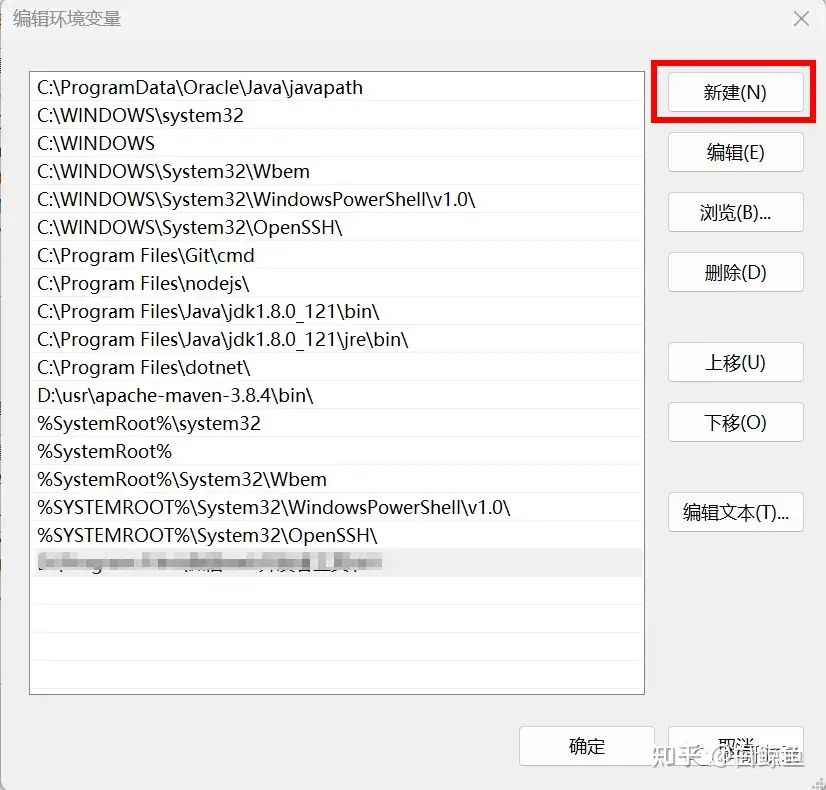
点击“新建”
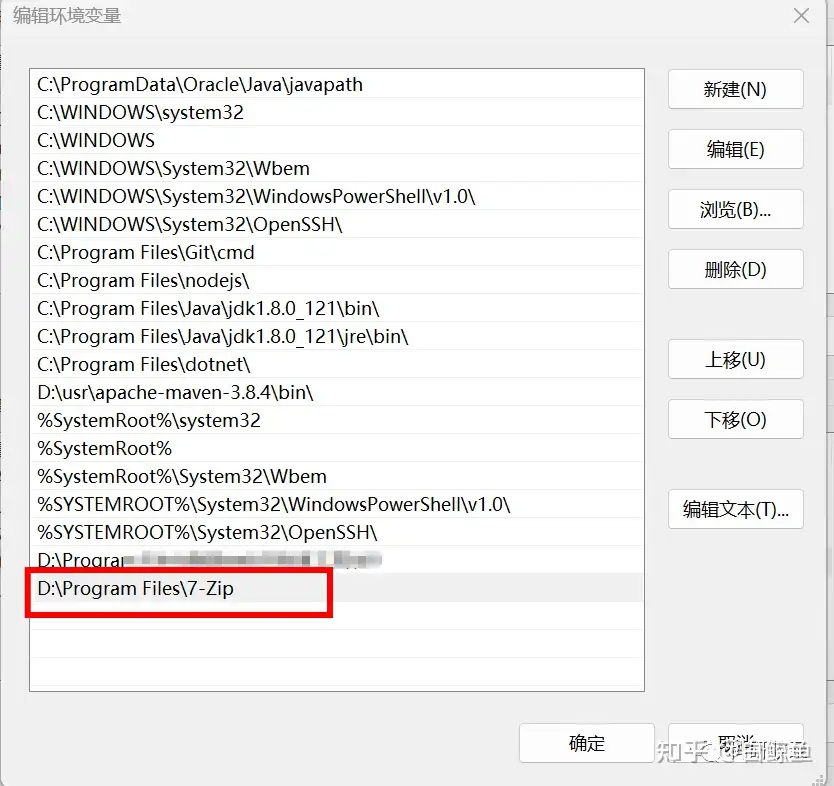
填入你的7z安装目录
点击确定,7z环境变量就设置完毕。
03
检查7z环境变量
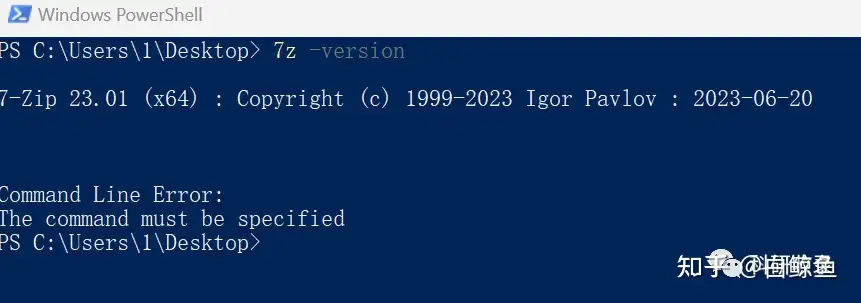
在电脑桌面,同时按住"shift"+鼠标右键,选择“在此处打开Powershell窗口”(或者随便打开一个cmd页面),在shell窗口中输入命令“7z -version”,如果输出7z的版本,则说明7z环境变量已经设置成功。如果提示没有找到这个命令,则说明环境变量没有设置成功,需要重新设置。
管理postgres服务
postgres数据库安装成功后,默认就会启动,我们也可以手动控制数据库的启动与关闭。
01
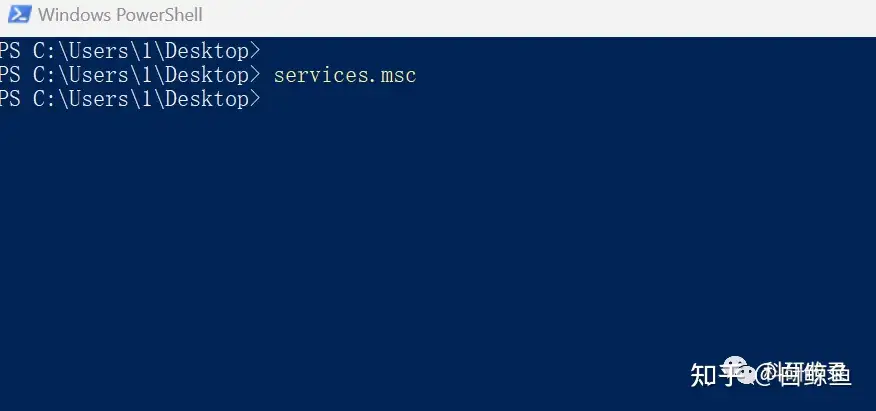
关闭postgres
打开PowerShell,输入“services.msc”,就会打开服务管理面板
服务管理面板如下:
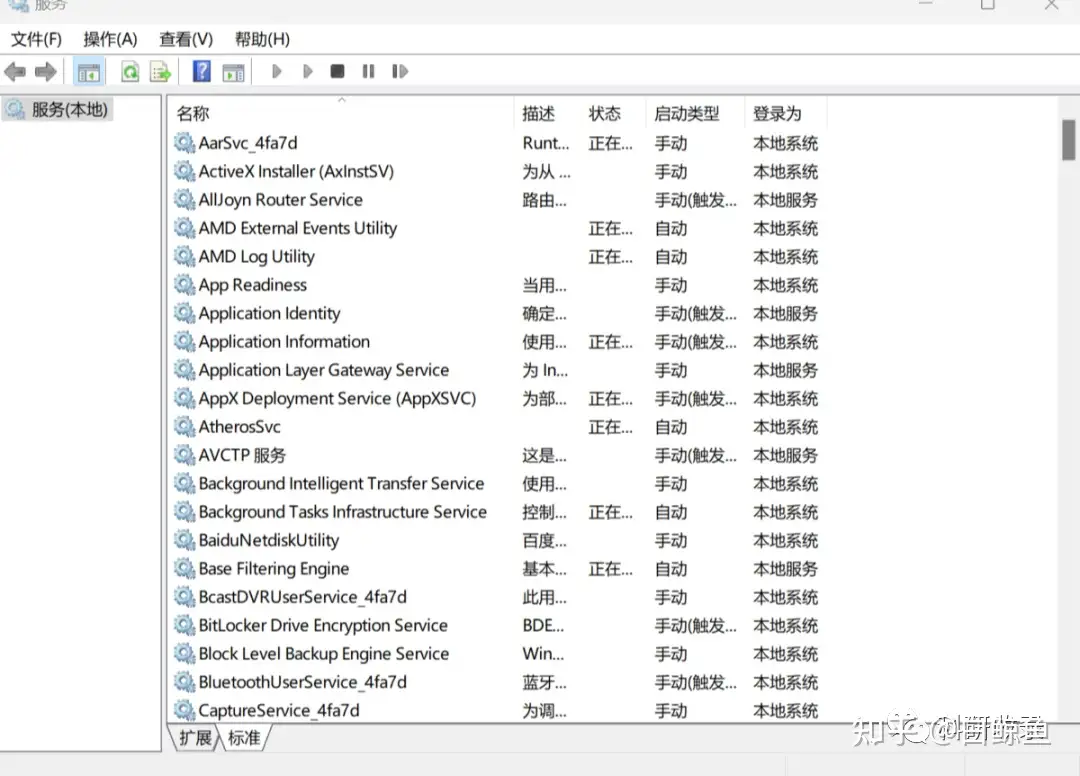
在服务管理面板,找到postgres数据库(可以按键盘的p键快速定位到以p开头的服务)
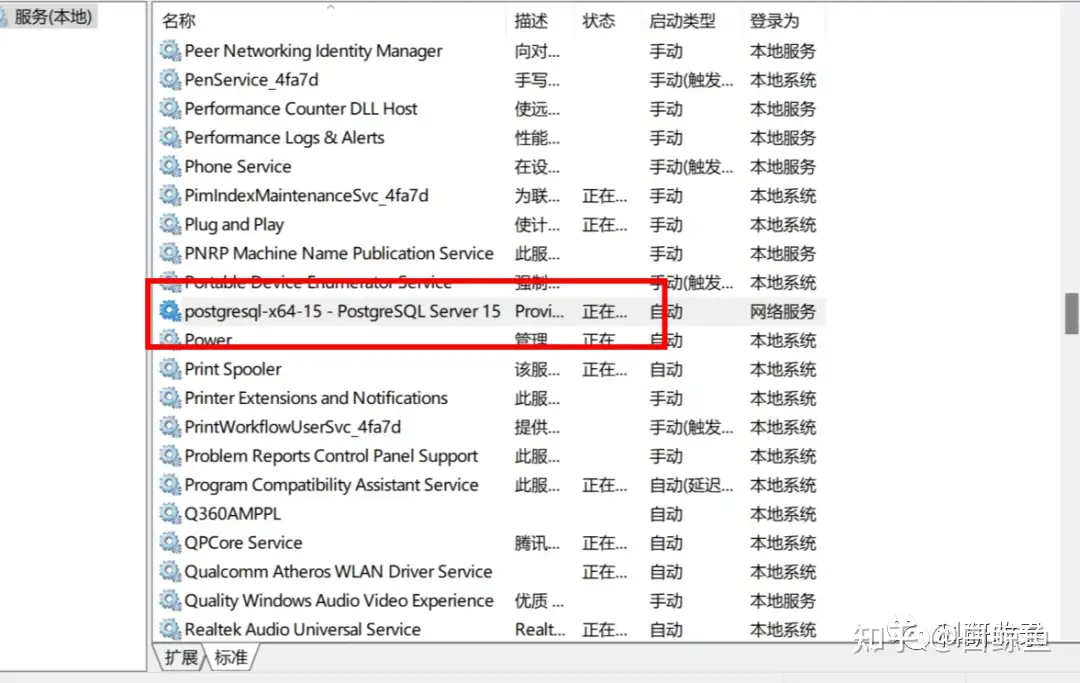
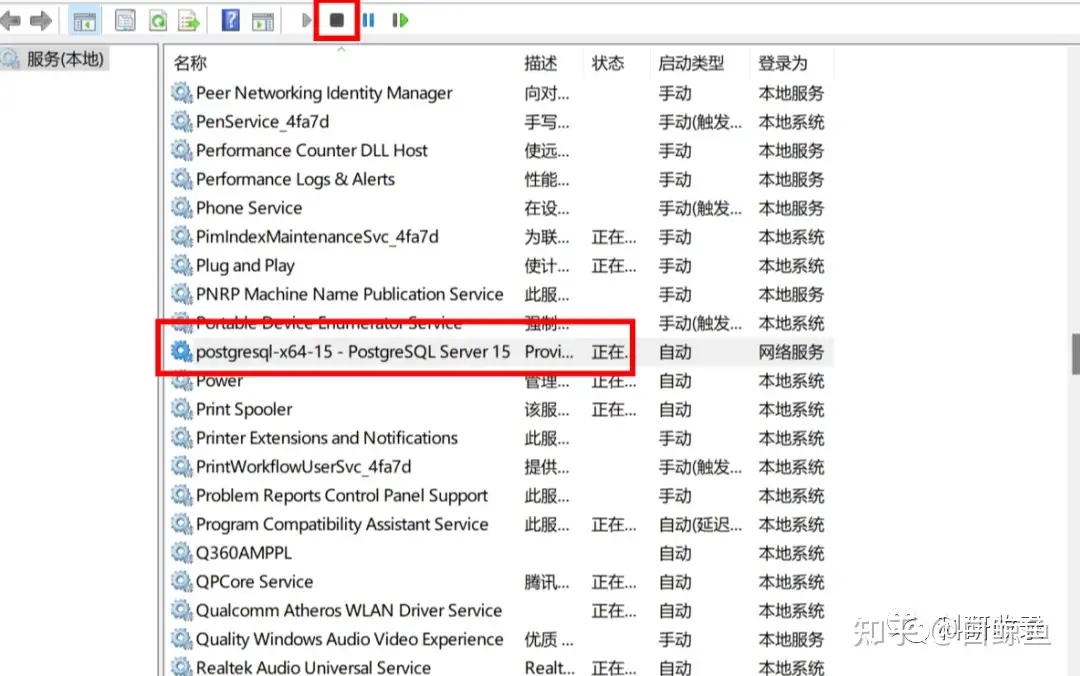
选中postgres服务后,点击面板上方的停止按钮,就会停止postgres服务
02
启动postgres
如果要启动postgres,步骤跟关闭服务一样,只是在最后,选中postgres服务后,点击启动按钮就可以启动postgres服务了。

为了方便同学们的学习,小编已经准备好了相关软件,关注公众号“科研收录”后台回复“mimic安装”就可以获取安装软件。